Wiring up the TeensyLC
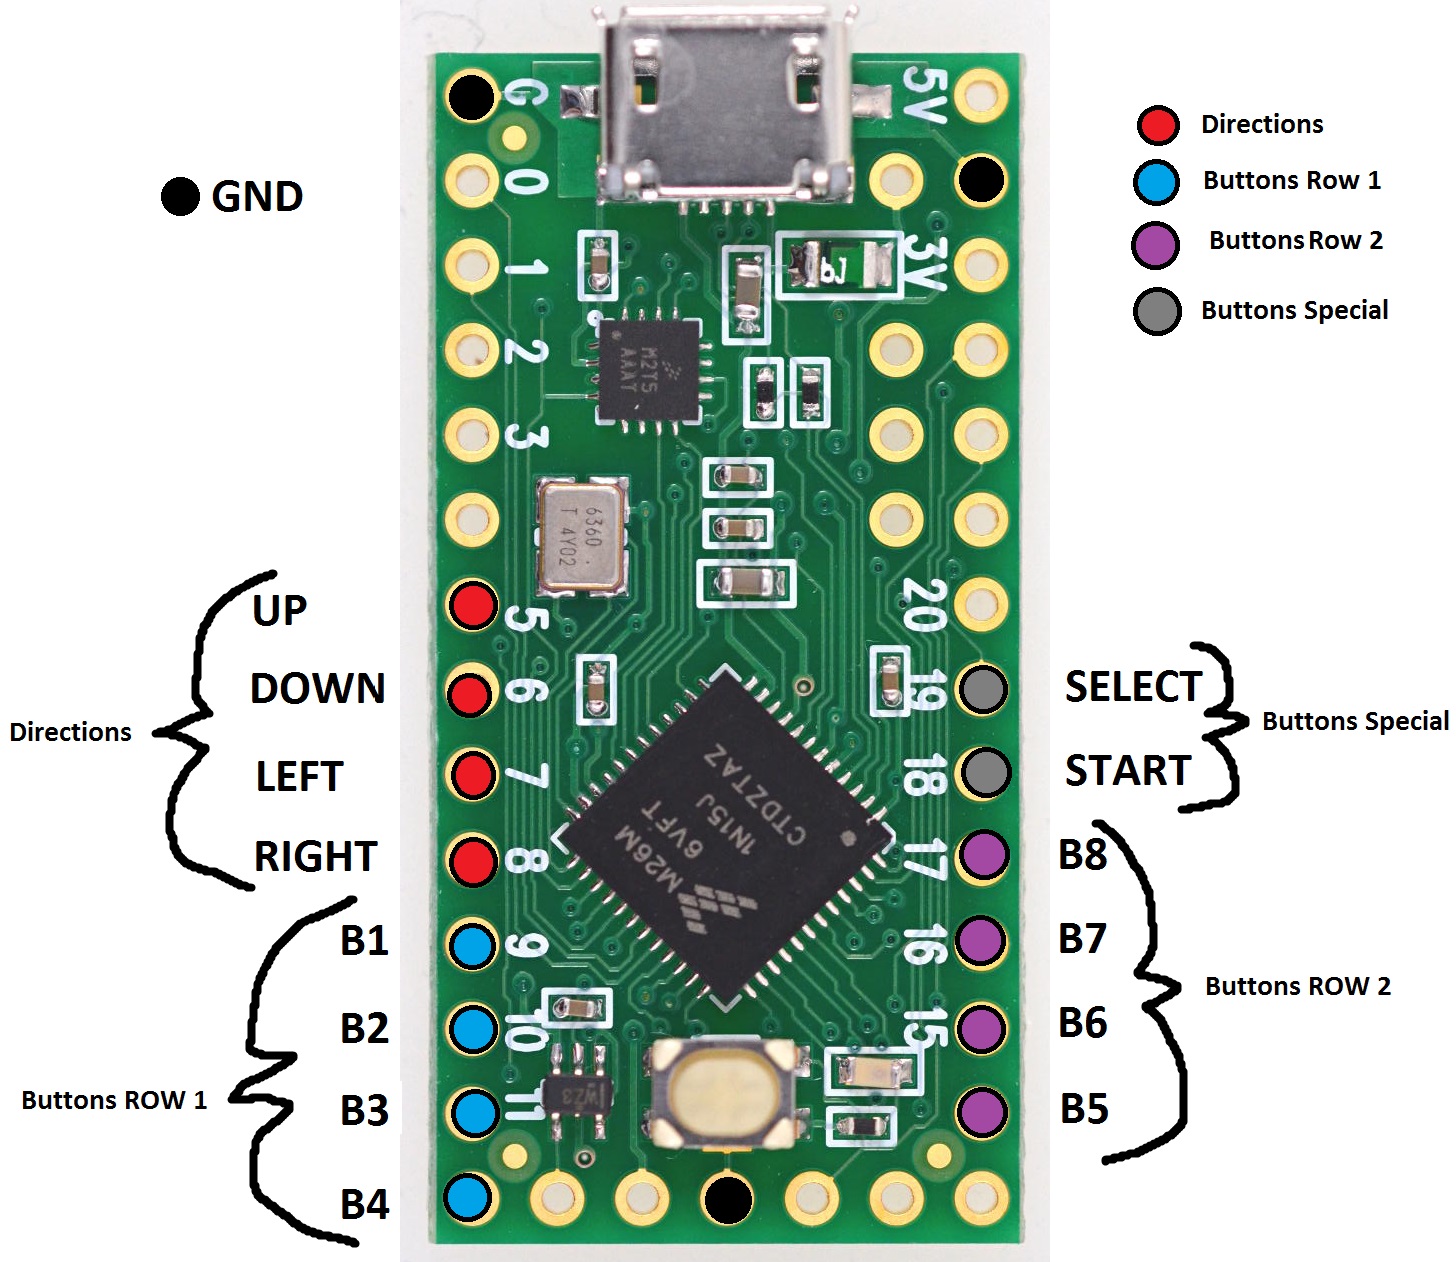
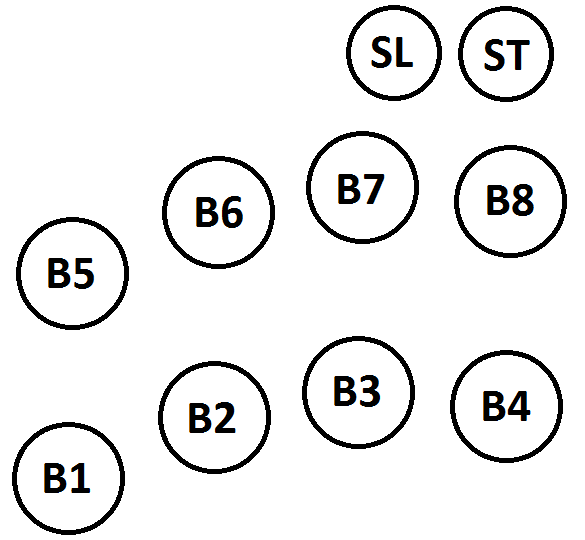
Above is a crude drawing of the pin-out used for this fight stick. The board is based on active low inputs, so we switch them to ground. I used all three grounds available as thru-hole. I had to create a splice for ground on start and select. Using the three grounds allowed me to separate the wires into neat sleeves that ran to each row of buttons and the joystick. Next I will show you the layout of the buttons on the stick:
Finally I will go ahead and finish this up with various shots of the stick and how it was wired up. We decided that creating the harnesses individually first would be easiest. So a harness was created for both rows, start select, and the joystick. Then they were cut at the correct length and soldered to the teensy board. The wires were kept clean by sleeving each harness with 1/4” PET Sleeving and using 3/8” Heat Shrink on the ends. For the wire we just used 22AWG stranded with 0.110”x0.020” Female Disconnects. Also remember to test the joystick with a voltmeter. The switches can be misleading and you need to remember that because of the pivot point a direction actually activates the micro switch on the opposite side.